Step 1: Navigate the initial upward sand stream and small gap.
Roll right into the first upward sand stream, then make subtle adjustments to pass through the narrow opening.
The ball passes the gap and lands on the platform with the first switch.
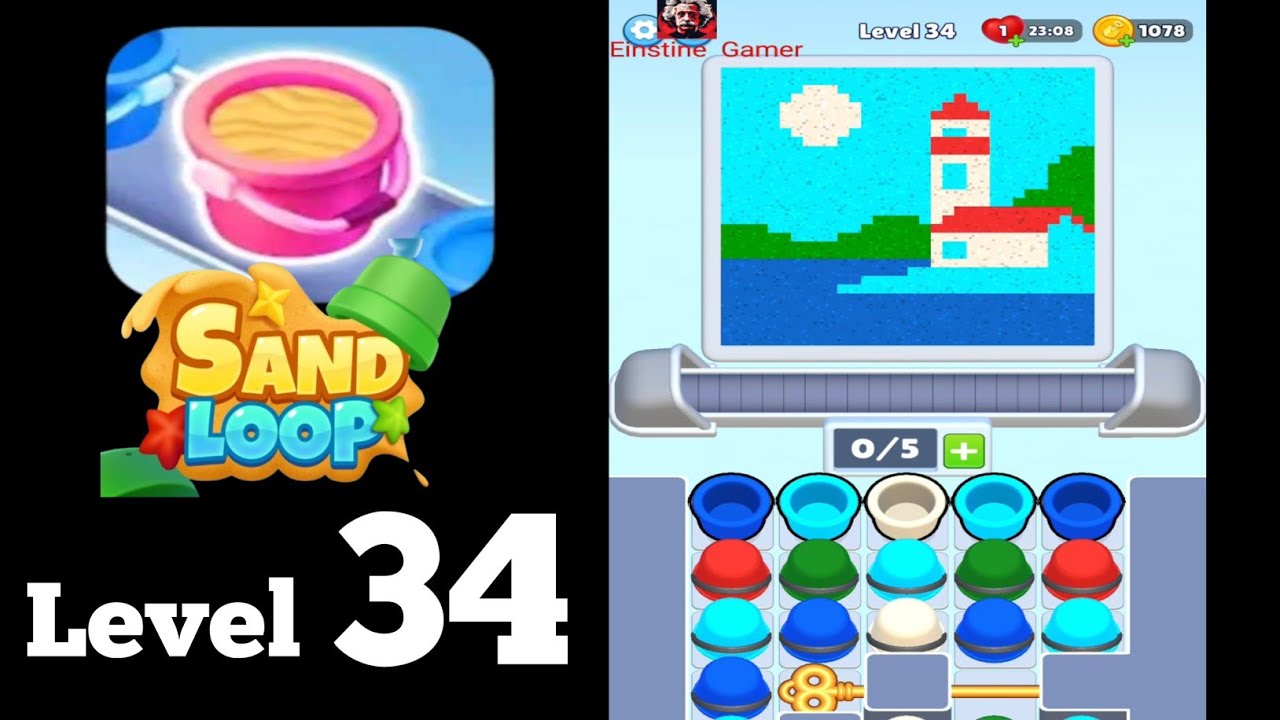
Complete walkthrough and strategy guide for Sand Loop Level 32. Watch the video tutorial and learn expert tips to beat this level.

Watch this video walkthrough to learn how to beat Sand Loop Level 32. Follow the step-by-step solution.
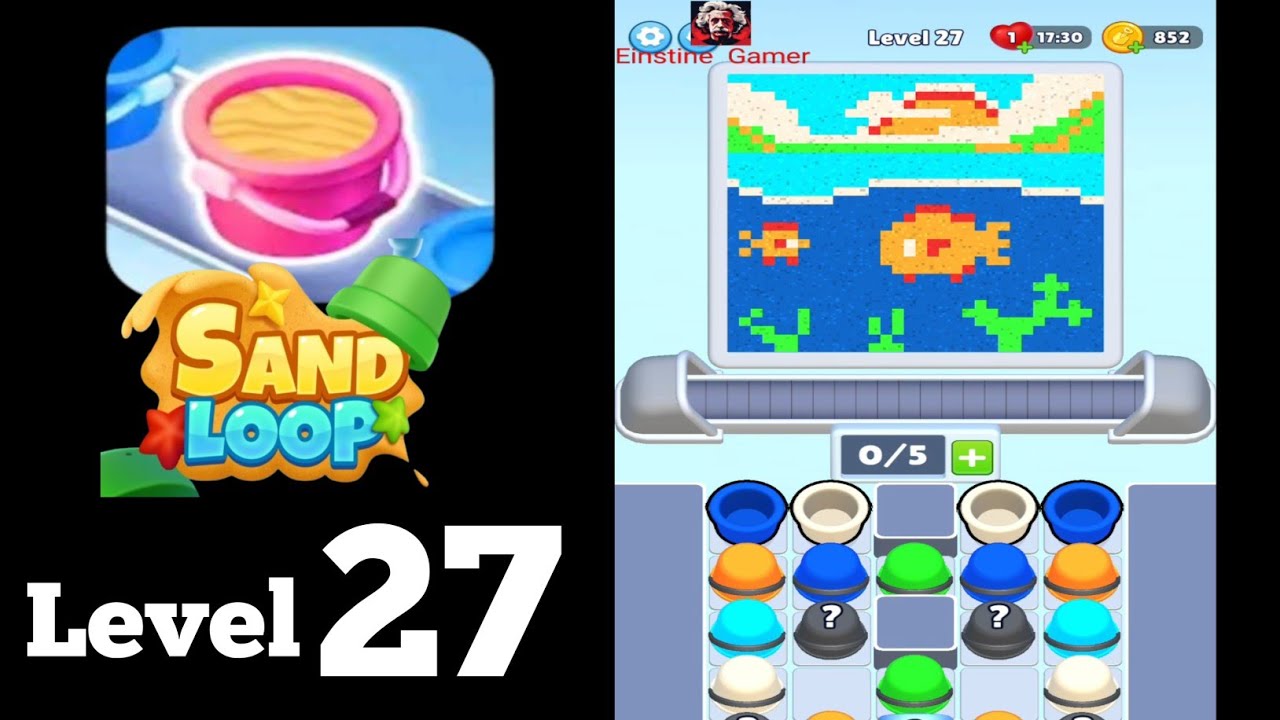
Master Sand Loop Level 32 with our complete walkthrough. This beginner level typically takes 1–2 min to complete. Find tips, video guides, and strategies for this puzzle level.
Navigate through a series of sand streams by activating switches to alter their flow, utilizing a moving platform and wind current to reach the exit.
| Time | Scene | Action | Common Error | Confidence |
|---|---|---|---|---|
| 00:00 | Level start | Ball drops into the starting area. | 100% | |
| 00:05 | First switch activation | Player rolls onto the first circular switch, changing the sand flow from upward to downward. | 100% | |
| 00:08 | Second switch activation | Player rolls onto the second circular switch, changing the sand flow from downward to rightward. | 100% | |
| 00:12 | Moving platform interaction | Player jumps onto a moving platform to cross a gap. | Missing the jump onto the platform. | 100% |
| 00:17 | Wind stream usage | Player uses a wind stream to traverse a large gap over spikes. | Not aligning correctly with the wind or jumping too early/late. | 100% |
| 00:19 | Level exit | Player enters the exit portal, completing the level. | 100% |
Roll right into the first upward sand stream, then make subtle adjustments to pass through the narrow opening.
The ball passes the gap and lands on the platform with the first switch.
Roll right onto the circular pressure switch.
The sand stream above changes from flowing upward to flowing downward.
Roll left off the switch, letting the sand current carry the ball down to the next platform.
The ball safely lands on the platform near the second switch.
Roll left onto the circular pressure switch.
The sand stream to the right changes from flowing downward to flowing rightward.
Roll right into the sand current. Carefully maintain position to avoid dropping into the spikes below.
The ball lands safely on the platform before the moving platform section.
Jump onto the moving platform as it approaches. Ride it to the right, then jump across the small gap to the next platform.
The ball lands on the platform after the moving platform sequence.
Roll right and jump into the active wind stream. Let the wind carry the ball across the wide gap.
The ball lands safely on the platform directly before the exit portal.
Roll right into the glowing exit portal.
The 'Level Clear' screen appears.
Falling into spikes.
Fix: Be precise with movements, especially when navigating sand streams or jumping. Observe the timing of moving platforms and wind currents.
Evidence Time: 00:12
Missing a jump onto the moving platform.
Fix: Time your jump carefully to land on the platform as it arrives or passes beneath you.
Evidence Time: 00:14
Not activating a switch or activating it at the wrong time.
Fix: Ensure the ball fully contacts the circular pressure switch. Switches typically change flow direction immediately upon activation and stay active.
Evidence Time: N/A
Getting stuck in a sand stream.
Fix: Adjust left or right slightly to guide the ball if it's not moving as intended, or jump if necessary to reset position.
Evidence Time: N/A
Q: How do I change the direction of the sand streams?
A: Roll your ball onto the circular pressure switches. Each switch toggles the direction of a specific sand flow.
Q: What is the purpose of the wind currents?
A: Wind currents are used to help your ball cross large gaps, often over hazards like spikes. Jump into the wind to be carried across.
Q: How do I avoid the spikes?
A: Maintain precise control of your ball, especially when being carried by sand or wind, or when making jumps. Look for safe landing zones and paths.

View Guide →
View Guide →
View Guide →

View Guide →
View Guide →
View Guide →

View Guide →
View Guide →
View Guide →
View Guide →

View Guide →
View Guide →
Share Your Experience
Community Comments (0)
No comments yet. Be the first to share your experience!