Step 1: Initiate sand flow.
No action required, sand flows automatically at the start of the level.
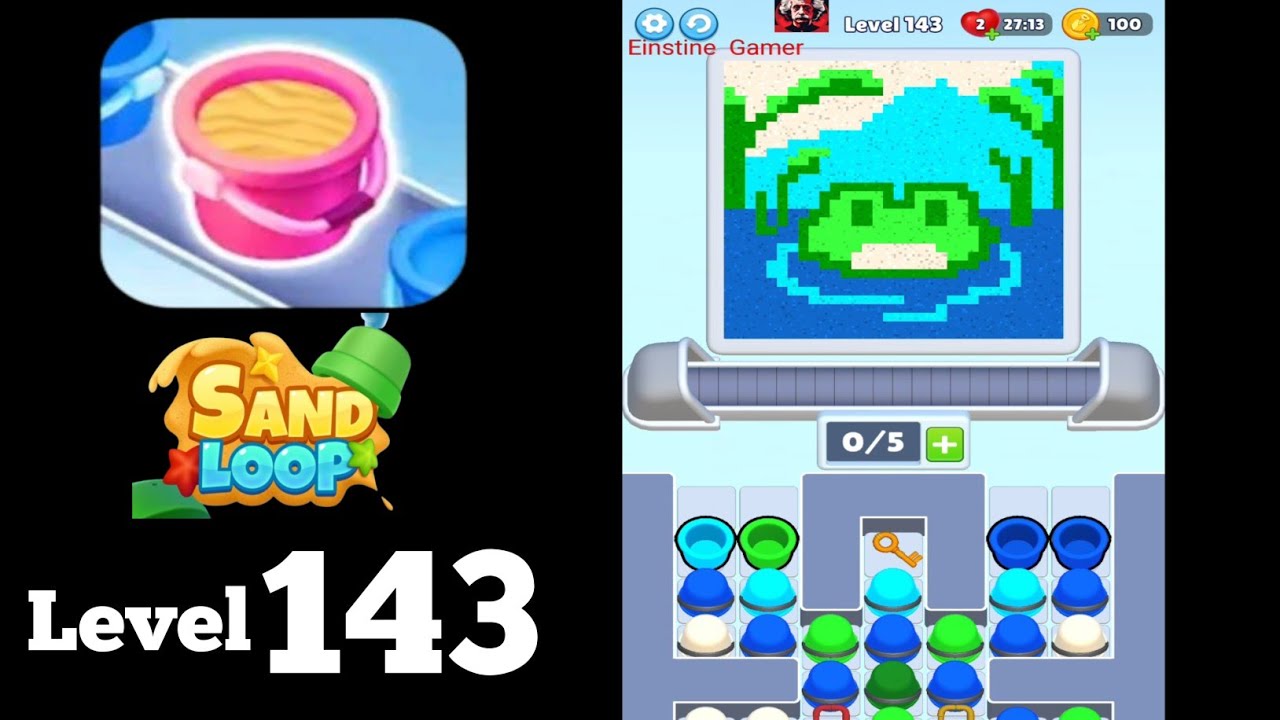
Sand visibly cascades from the top-center source.
Complete walkthrough and strategy guide for Sand Loop Level 137. Watch the video tutorial and learn expert tips to beat this level.

Watch this video walkthrough to learn how to beat Sand Loop Level 137. Follow the step-by-step solution.
Master Sand Loop Level 137 with our complete walkthrough. This medium level typically takes 3–5 min to complete. Find tips, video guides, and strategies for this puzzle level.
Guide the sand through a system of four gates to fill four small intermediate containers, then redirect the flow to fill the final large container.
| Time | Scene | Action | Common Error | Confidence |
|---|---|---|---|---|
| 00:00 | Level Start | Sand flow begins from the top source. | 100% | |
| 00:04 | Gate Operation | Player opens the top-left gate. | 100% | |
| 00:06 | Gate Operation | Player opens the bottom-left gate. | 100% | |
| 00:09 | Gate Operation | Player opens the top-right gate. | 100% | |
| 00:11 | Gate Operation | Player opens the bottom-right gate. | 100% | |
| 00:15 | Gate Operation | Player closes the top-left gate. | 100% | |
| 00:16 | Gate Operation | Player closes the top-right gate. | 100% | |
| 00:20 | Container Fill | First small container (leftmost) is filled. | 100% | |
| 00:22 | Container Fill | Second small container is filled. | 100% | |
| 00:26 | Container Fill | Third small container is filled. | 100% | |
| 00:30 | Container Fill | Fourth small container (rightmost) is filled. | 100% | |
| 00:36 | Final Stage | The main large container begins to fill rapidly. | 100% | |
| 00:39 | Level Completion | "Level Cleared" screen appears. | 100% |
No action required, sand flows automatically at the start of the level.
Sand visibly cascades from the top-center source.
Tap the lever next to the top-left gate to open it.
The top-left gate rotates open, allowing sand to flow towards the left channel (observed at 00:04).
Tap the lever next to the bottom-left gate to open it.
The bottom-left gate rotates open, allowing sand to flow towards the first two small containers (observed at 00:06).
Tap the lever next to the top-right gate to open it.
The top-right gate rotates open, allowing sand to flow towards the right channel (observed at 00:09).
Tap the lever next to the bottom-right gate to open it.
The bottom-right gate rotates open, allowing sand to flow towards the last two small containers (observed at 00:11).
Tap the lever next to the top-left gate to close it.
The top-left gate rotates closed, blocking the path and directing sand to the main channels (observed at 00:15).
Tap the lever next to the top-right gate to close it.
The top-right gate rotates closed, blocking the path and directing sand to the main channels (observed at 00:16).
Wait for sand to fill the four small containers at the bottom of the structure.
Each small container visibly fills with sand, and after filling, they activate an outlet pipe to feed the main container (observed from 00:20 to 00:30).
Continue to wait for the sand to collect in the large container at the bottom.
The main container fills completely, triggering the 'Level Cleared' screen (observed at 00:39).
Q: How do I control the sand flow?
A: Tap on the levers next to the gates to toggle them open or closed, directing the sand.
Q: What is the primary objective of Level 137?
A: The goal is to fill the large container at the very bottom of the structure by strategically opening and closing gates to guide the sand through four smaller intermediate containers first.
Q: When should I close the upper gates?
A: The video shows closing the upper gates (top-left and top-right) after all four lower gates are opened and sand is flowing into the four main channels. This helps consolidate the sand flow to quickly fill the intermediate containers and then the final container.
View Guide →

View Guide →
View Guide →
View Guide →

View Guide →

View Guide →
View Guide →
View Guide →
View Guide →
View Guide →
View Guide →
View Guide →
Share Your Experience
Community Comments (0)
No comments yet. Be the first to share your experience!