Step 1: Release blue sand.
Tap the blue sand container at the top left.
Blue sand starts flowing out and descends.
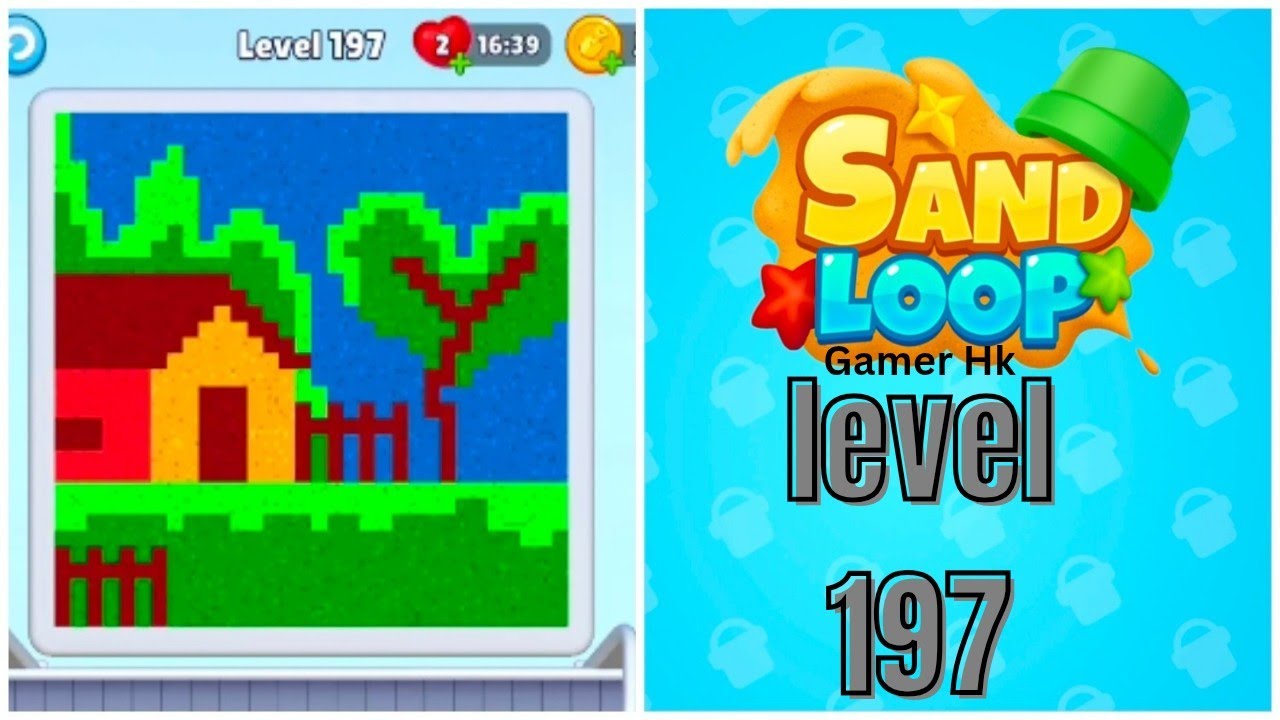
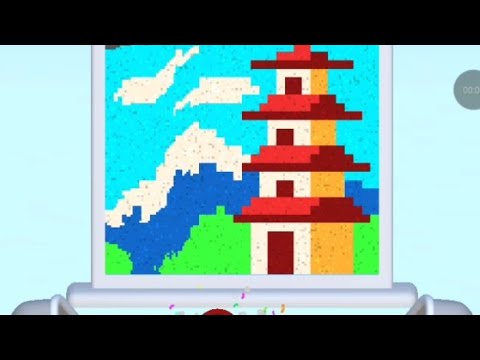
Complete walkthrough and strategy guide for Sand Loop Level 203. Watch the video tutorial and learn expert tips to beat this level.

Watch this video walkthrough to learn how to beat Sand Loop Level 203. Follow the step-by-step solution.
Master Sand Loop Level 203 with our complete walkthrough. This expert level typically takes 8–15 min to complete. Find tips, video guides, and strategies for this puzzle level.
Guide blue and yellow sand to mix into green, then direct both green and red sand separately through a system of pipes and gates to their respective targets, using a switch activated by the mixed sand to open a path for red sand.
| Time | Scene | Action | Common Error | Confidence |
|---|---|---|---|---|
| 00:00 | Level Start | Initial view of the puzzle showing three sand sources (blue, yellow, red) and two target containers (red, green) at the bottom. | 100% | |
| 00:04 | Color Mixing and Switch Activation | Blue and yellow sand combine to form green sand, which then activates the first crucial switch, opening a path for the red sand. | 100% | |
| 00:12 | Mid-level Flow Diversion | Green and red sands are successfully guided into their distinct pipe systems, requiring timed gate openings for each path. | 90% | |
| 00:22 | Final Gates Opened | The last gates for both red and green sand are opened, allowing them to flow directly into their respective target containers. | 100% | |
| 00:30 | Level Complete | All target containers are filled to their required levels, and the 'Level Complete' screen appears. | 100% |
Tap the blue sand container at the top left.
Blue sand starts flowing out and descends.
Tap the yellow sand container at the top center.
Yellow sand starts flowing out and descends alongside blue sand.
Tap the gate located directly below the blue and yellow sand streams.
The gate opens, blue and yellow sand mix into green, and the green sand activates the switch.
Tap the red sand container at the top right.
Red sand starts flowing out.
Tap the gate that was opened by the switch activation, located in the red sand's path.
The gate opens, allowing red sand to flow downwards.
Tap the gate located on the right side, above the first red pipe segment.
The gate opens, and red sand flows into the pipe.
Tap the gate located on the left side, above the first green pipe segment.
The gate opens, and green sand flows into the pipe.
Tap the gate located further down the red sand's path, near the middle-right.
The gate opens, allowing red sand to continue its flow.
Tap the gate located further down the green sand's path, near the middle-left.
The gate opens, allowing green sand to continue its flow.
Tap the last gate on the red sand's path, directly above the red target.
The gate opens, and red sand flows into the red target container.
Tap the last gate on the green sand's path, directly above the green target.
The gate opens, and green sand flows into the green target container.
No further taps required; observe the sand filling the targets.
Both red and green target containers are filled, and the 'Level Complete' notification appears.
Not opening gates promptly as sand approaches, causing accumulation or slow flow.
Fix: Anticipate the sand's movement and tap gates immediately once a path is clear or sand reaches the gate, to maintain continuous flow.
Evidence Time: N/A
Releasing sand sources out of optimal order, leading to delays.
Fix: Release blue and yellow sand first to quickly activate the switch for red sand's path. Then, release red sand without delay.
Evidence Time: N/A
Mismanaging parallel flows (red and green sand), causing one to fill slower.
Fix: Keep an eye on both red and green sand paths. Alternate gate openings if necessary to ensure both progress efficiently, though a continuous sequence is shown to work here.
Evidence Time: N/A
Q: How do I create green sand in this level?
A: Green sand is formed by mixing blue and yellow sand. In this level, this occurs automatically once you release both colors and open the first gate that directs them to combine.
Q: What is the purpose of the switch?
A: The switch is activated by the mixed blue and yellow (green) sand. Its activation opens a specific gate, which is crucial for the red sand's path to proceed.
Q: What's the best order to release the sand colors?
A: Release blue and yellow sand first, as their combination is needed to activate a switch that opens the path for red sand. Once that path is open, you can release the red sand.
View Guide →
View Guide →

View Guide →
View Guide →

View Guide →
View Guide →
View Guide →
View Guide →
View Guide →
View Guide →
View Guide →
View Guide →
Share Your Experience
Community Comments (0)
No comments yet. Be the first to share your experience!