Step 1: Fill the environmental background
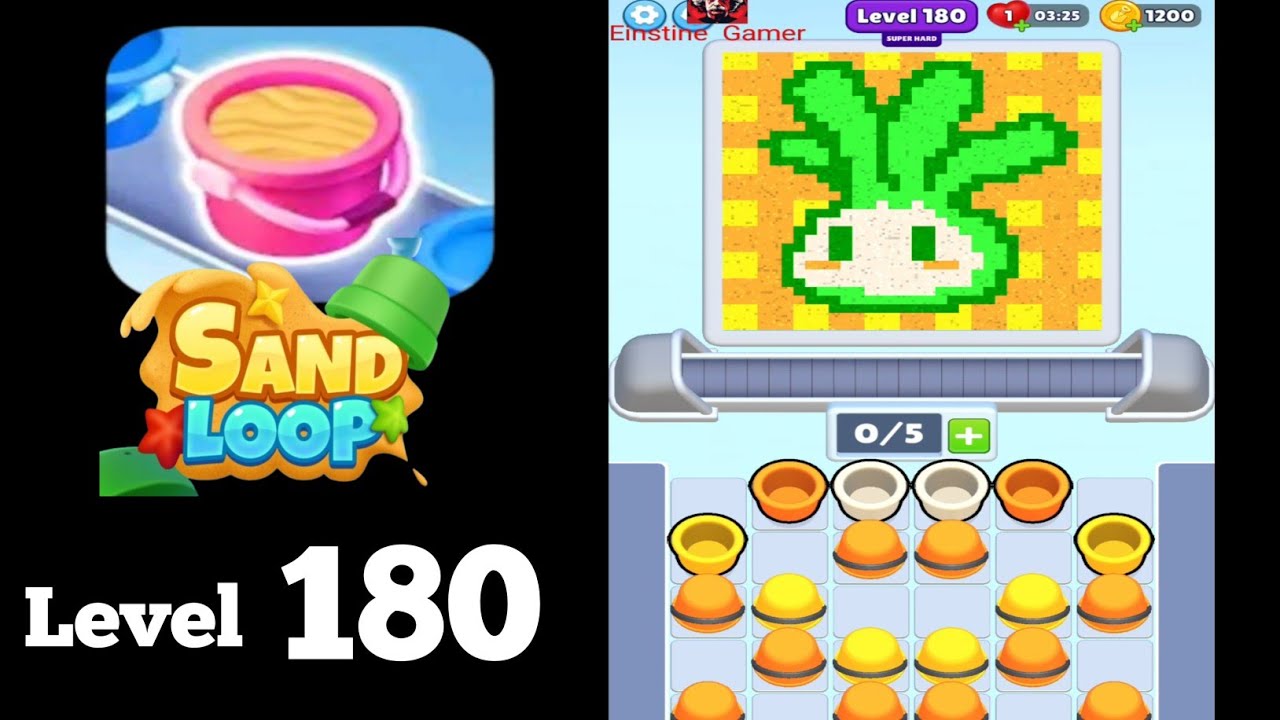
Alternately click green and white sand balls, using the top conveyor bucket to basically fill the main body of the hill and the sky area.
Green and white percentages above the pattern reach over 70%.
Complete walkthrough and strategy guide for Sand Loop Level 174. Watch the video tutorial and learn expert tips to beat this level.

Watch this video walkthrough to learn how to beat Sand Loop Level 174. Follow the step-by-step solution.
Master Sand Loop Level 174 with our complete walkthrough. This advanced level typically takes 5–8 min to complete. Find tips, video guides, and strategies for this puzzle level.
This level's challenge is a red-roofed house landscape; the core difficulty is triggering the gold key in the lower-middle to remove the central physical barrier, and the key to success is using gravity diversion for precise sand placement.
| Time | Scene | Action | Common Error | Confidence |
|---|---|---|---|---|
| 00:01 | Level loads, showing a red-roofed house and green hill pattern, with a physical barrier in the center. | Start pouring white and green sand to fill the sky and hill outlines. | Pouring red sand too early, causing it to accumulate wastefully above the barrier. | 95% |
| 01:21 | Sand flow precisely touches the gold key icon at the bottom through the central pipe. | Observe the central horizontal physical barrier (Barrier) disappear. | Unstable sand flow speed causes missing the key's sensing area. | 100% |
| 03:01 | Entering the final filling stage, mainly for the house roof. | Pour the final red sand source, filling the roof progress bar to 100%. | Red sand balance is extremely low (only 4 units remaining), requiring each bucket to be precisely aimed at the drop point. | 90% |
Alternately click green and white sand balls, using the top conveyor bucket to basically fill the main body of the hill and the sky area.
Green and white percentages above the pattern reach over 70%.
Pour sand into the conveyor bucket, guiding it to flow into the thinnest central vertical pipe until it touches the gold key.
The red line labeled 'Barrier' in the center of the screen disappears, and the path is cleared.
Switch to red sand source to fill the roof, yellow to fill the walls, and use remaining colors to fill edge gaps.
Pattern completeness reaches 100%, triggering the trophy effect.
Gold key not triggered
Fix: Sand must physically pass through the narrowest central vertical channel; any deviation in the drop point will prevent unlocking.
Evidence Time: 01:21
Insufficient key color (red)
Fix: Only 4 units of red sand are available; it must be poured only after the barrier is unlocked, and must be aimed precisely at the roof.
Evidence Time: 03:05
Barrier position may shift up or down in some versions
Adaptation: Prioritize observing the gold key path to ensure all physical barriers are cleared as soon as possible.
Q: Why is my sand always stuck in the middle?
A: Because there's a physical barrier in the center. You must first let the sand flow to the gold key icon at the bottom to unlock it.
Q: What if I don't have enough red sand?
A: Red sand is a limited resource in this level; its use is strictly prohibited before unlocking. After unlocking, only click the red sand ball when the bucket is directly above the roof.
View Guide →
View Guide →
View Guide →

View Guide →
View Guide →

View Guide →

View Guide →
View Guide →
View Guide →
View Guide →
View Guide →
View Guide →
Share Your Experience
Community Comments (0)
No comments yet. Be the first to share your experience!